How to Build a DIY Solar Power System?
Building a DIY solar power system starts with understanding what you need to power, not with buying panels. A small cabin, camper, and home backup setup all have different demands. Write down each appliance, its wattage, and how many hours you expect to use it. A refrigerator running overnight can shape the design more than several phone chargers. Small details matter.
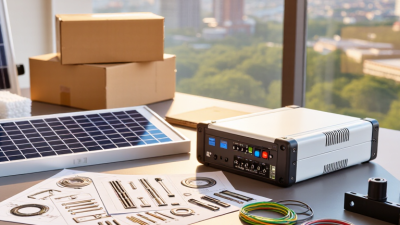
From there, estimate your daily energy use and compare it with the sunlight available at your location. Panel output changes with season, shade, temperature, and installation angle, so a calculator’s result is only a starting point. You will also need to match the panels with a charge controller, battery bank, and inverter. Each component must handle the system’s voltage and expected loads. Include properly rated wiring, fuses, and disconnects; they are essential safety components, not optional extras. Check manufacturer documentation, and ask a qualified electrician to review any work involving household wiring or a grid connection. Local requirements vary.
This guide will explain how to plan, select, and connect the main parts of a DIY solar setup, while pointing out common sizing and safety mistakes. It will also help you think through costs, battery capacity, and future expansion before you purchase equipment. Be realistic. Solar can reduce reliance on other power sources, but it may not cover every need in every season. I learned to leave room for uncertainty; estimates are useful, but real energy use can surprise you.
Assess Household Loads and Size the Solar Array in kW and kWh
How to Build a DIY Solar Power System?
Assess Household Loads and Size the Solar Array in kW and kWh
Start with the energy your household uses, not the number of panels you hope to install. Check recent utility bills for daily kilowatt-hours (kWh), then list major loads. A refrigerator might use about 1–2 kWh per day, while a kettle draws substantial power briefly. For each appliance, multiply its wattage by hours of use, then add the results. Separate essential loads, such as lights and refrigeration, from optional ones. Your estimate will not be perfect. Real use changes with weather, habits, and appliance age.
Next, size for both energy and power. Daily kWh indicates how much energy the array must produce; kilowatts (kW) describe its output at a moment. If essential loads total 6 kWh daily and your location averages four useful sun-hours, a rough starting point is 1.5 kW of panels. Allow extra capacity for system losses, cloudy days, and seasonal variation; local solar data makes this estimate more reliable. Check inverter capacity against the highest loads running together, not just the daily total. A small array can meet energy needs yet struggle with a pump starting.
Tips: Keep a simple load log for a week. Note when large appliances run, and compare your notes with meter readings. Be cautious with assumptions: my first pass would likely miss standby power. Have a qualified professional review wiring, protection, and equipment sizing before installation.
Select 400–550 W Panels for a 20–25-Year System Design
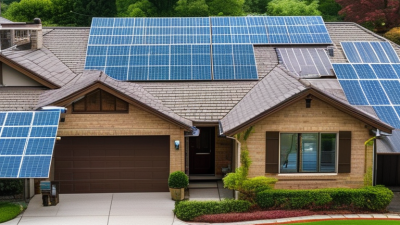
A 400–550 W panel is a practical starting point for a solar system intended to serve for 20–25 years. Its rated output is measured under standard test conditions, not on a hot roof in afternoon sun. Compare panel dimensions, operating voltage, and current with your available roof area and the inverter’s input limits. Start with the roof. Shade from a chimney or nearby tree can reduce production across a string, so note its movement at different times of day.
Estimate daily energy use before choosing a panel count. A 450 W panel might produce roughly 1–2 kWh on a clear day, depending on location, orientation, season, and system losses. Treat that as a planning estimate, not a promise. Measure twice. Check roof structure, mounting points, cable routes, and ventilation; panels need secure support and space beneath them for airflow. The system’s smallest component can set its limits.
For a long service life, consider expected output decline, weather exposure, and replacement access. A slightly higher-wattage panel may save roof space, but it is not automatically the better fit. Match electrical characteristics across the array, and have a qualified professional review structural and electrical plans. I once underestimated shading from a vent; the revised layout was less tidy, but more realistic. That matters. Keep records of panel specifications, installation details, and measured production, then compare actual output with seasonal expectations.
Size 12, 24, or 48 V Batteries at 80–90% Usable Capacity
How to Build a DIY Solar Power System?
Choosing 12, 24, or 48 volts starts with your daily energy demand. A small cabin system may suit 12 volts for lights, phone charging, and a compact refrigerator. At higher loads, 24 volts reduces current and cable heating. A 48-volt bank usually fits larger inverters, workshops, and longer cable runs. Measure real consumption with a plug-in meter instead of trusting appliance labels.
Keep only 80–90% of the battery’s rated capacity available for routine use. For example, a 2,400 watt-hour daily load needs about 2,667 watt-hours at 90% usable capacity. Allow more when inverter losses, cold temperatures, and cloudy weather matter. At 24 volts, that equals roughly 111 amp-hours before adding those extra margins. I normally add 15–25% after checking actual usage. My first estimates are rarely perfect.
Use matching battery voltage, inverter voltage, charge controller settings, and protective equipment. A 12-volt battery bank carrying 1,200 watts can draw around 100 amps before losses. That demands short, correctly sized cables and properly rated protection. A 48-volt system carries much less current for the same power, but it requires greater care around hazardous voltage. Follow local electrical rules and the battery manufacturer’s installation guidance. Leave ventilation, temperature monitoring, and a clear shutdown method. Measure twice. Calculations deserve a second look.
How to Build a DIY Solar Power System? — Size 12, 24, or 48 V Batteries at 80–90% Usable Capacity
| Daily Energy Use |
Autonomy |
Usable Energy Needed |
Nominal Battery Energy
(80–90% usable) |
12 V Battery Capacity |
24 V Battery Capacity |
48 V Battery Capacity |
| 1 kWh/day |
1 day |
1 kWh |
1.11–1.25 kWh |
93–104 Ah |
46–52 Ah |
23–26 Ah |
| 1 kWh/day |
2 days |
2 kWh |
2.22–2.50 kWh |
185–208 Ah |
93–104 Ah |
46–52 Ah |
| 2 kWh/day |
1 day |
2 kWh |
2.22–2.50 kWh |
185–208 Ah |
93–104 Ah |
46–52 Ah |
| 2 kWh/day |
2 days |
4 kWh |
4.44–5.00 kWh |
370–417 Ah |
185–208 Ah |
93–104 Ah |
| 4 kWh/day |
1 day |
4 kWh |
4.44–5.00 kWh |
370–417 Ah |
185–208 Ah |
93–104 Ah |
| 4 kWh/day |
2 days |
8 kWh |
8.89–10.00 kWh |
741–833 Ah |
370–417 Ah |
185–208 Ah |
How to read the table: Nominal battery energy is calculated as usable energy divided by the usable-capacity fraction. The lower nominal value assumes 90% usable capacity; the higher value assumes 80%.
Calculation: Battery capacity (Ah) = nominal battery energy (Wh) ÷ nominal battery voltage (V). Values are rounded to the nearest amp-hour.
Planning note: These examples use nominal 12, 24, and 48 V battery-bank voltages and do not include inverter losses, temperature effects, aging, or reserve capacity. Check the battery’s actual nominal voltage and recommended depth of discharge, and size the inverter and wiring for the expected loads.
Install, Ground, and Test the System Under NEC and IEC Standards
Installing a DIY solar system is not just mounting panels and connecting wires. Start with a site plan showing panel locations, cable routes, disconnects, and equipment ratings. Follow the locally adopted electrical code; NEC requirements and IEC standards are not interchangeable. Rules also vary by jurisdiction. Check with the local electrical authority before work begins, and use a qualified electrician for tasks beyond your training.
Mount panels on a structure rated for local wind and snow loads. Keep wiring protected from sharp roof edges, moisture, and heat. Size conductors and overcurrent protection for the system’s current, voltage, and installation conditions. Ground and bond equipment according to the applicable code and manufacturer instructions. Do not assume a metal frame is grounded just because it touches a rail. It may not be.
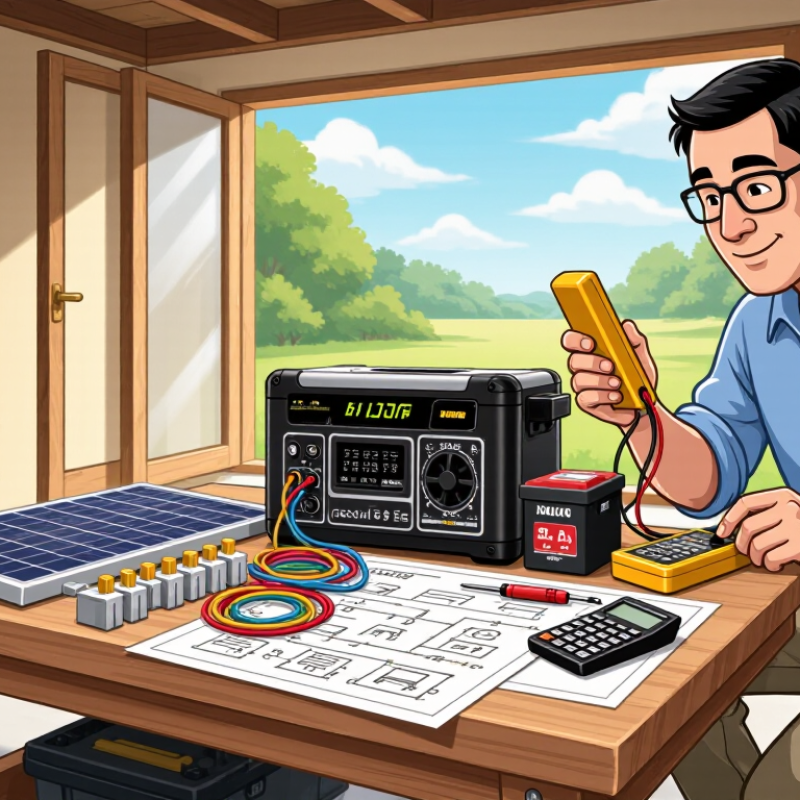
Test before energizing. Use a suitable meter to verify polarity, string voltage, and continuity where required; isolate circuits and follow safe shutdown procedures. Record readings and inspect connectors for loose fittings or damaged insulation. A neat installation can still hide a fault. I would recheck every termination after the first inspection, because rushed tightening is easy to miss. Have the completed system inspected and commissioned under the standards adopted locally.