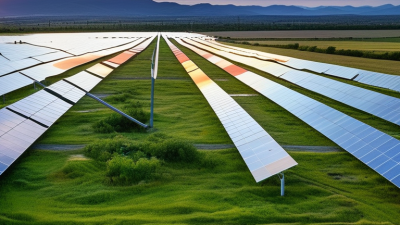
What Is Solar Installation and How Does It Work?
Solar installation is the process of converting sunlight into usable electricity through photovoltaic panels, inverters, wiring, and safety equipment. It begins with a site assessment, not a sales promise. Technicians examine roof strength, shading, orientation, local weather, and electrical capacity. A single chimney shadow can reduce output across several panels. The design then connects the array to an inverter, which changes direct current into household alternating current. A utility meter records electricity imported from or exported to the grid.
The industry is expanding quickly. The International Renewable Energy Agency reported approximately 452 gigawatts of new solar photovoltaic capacity worldwide in 2024. That represented most of the year’s renewable additions. The International Energy Agency also identifies solar PV as a central driver of global power-sector growth through 2030. These figures show momentum, but they do not guarantee equal savings for every property. Roof age, electricity prices, financing terms, and local regulations can change the result significantly. Estimates vary.
A professional installation includes structural checks, electrical design, permits, inspections, and system commissioning. Installers should explain expected production in kilowatt-hours, equipment warranties, maintenance needs, and battery limitations. The U.S. National Renewable Energy Laboratory’s PVWatts tool demonstrates why location and weather data matter when estimating system performance. Real roofs are rarely perfect. Dust, snow, trees, and inverter losses affect output. Even so, careful planning can make a solar installation safer, more predictable, and easier to evaluate over its operating life. Performance should be measured, not assumed.
Solar Installation Defined: PV Modules, Inverters, and Balance-of-System Parts
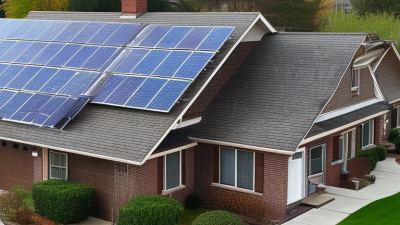
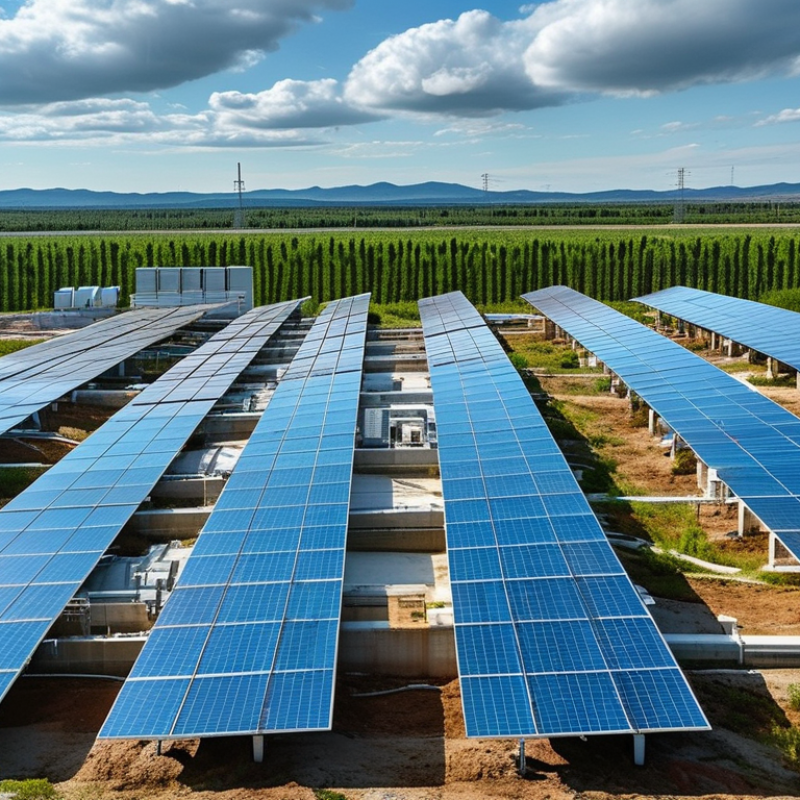
Solar installation is the process of converting sunlight into usable electricity at a property. PV modules form the visible field on a roof or ground rack. Each module uses semiconductor cells to produce direct current when light strikes them. More modules usually increase generation, but roof direction, shading, and temperature matter too. During a site assessment, a small chimney can cast a narrow afternoon shadow. That detail may change the expected output. Small things matter.
The inverter changes direct current into alternating current for household circuits. It also manages voltage, tracks performance, and may shut down during grid faults. Some systems use one central inverter, while others use smaller units near individual modules. The choice depends on shade patterns, maintenance access, and electrical requirements. A reliable installer sizes the system from measured energy use, not guesswork. A larger array is not automatically better.
Balance-of-system parts connect and protect the main equipment. They include racking, wiring, disconnects, grounding conductors, monitoring hardware, and electrical protection devices. Mounting hardware must suit the roof structure and local weather exposure. Cable routes should avoid sharp bends, standing water, and unnecessary heat. Commissioning includes checking polarity, insulation, grounding, inverter settings, and production data. Permits and inspections also support safe operation. I still treat early production readings cautiously because clouds and temporary shading can mislead homeowners. During handover, the owner should receive clear maintenance instructions and system records.
Site Assessment: Evaluating Solar Irradiance of 1,000–2,000 kWh/m² per Year
A solar installation begins with a careful site assessment. Annual irradiance between 1,000 and 2,000 kWh/m² is a useful screening range, not a guaranteed energy yield. The World Bank’s Global Solar Atlas uses long-term satellite and meteorological data to map global solar resources. However, broad regional values can hide local problems, including roof orientation, nearby trees, dust, and seasonal shadows.
A technician should measure global horizontal irradiance and estimate irradiance on the planned panel surface. Tilt and azimuth matter. A south-facing roof may perform differently from a flat roof, even under the same climate. NREL’s PVWatts technical documentation uses a default system-loss assumption of about 14%, including wiring, soiling, mismatch, and other reductions. In practice, losses can vary substantially. A clean spreadsheet can still be wrong.
Field observations remain essential. The assessor should inspect roof age, structural condition, ventilation, and shading at different hours. A shade line across only a few modules can reduce output more than expected. The IEA PVPS reports that photovoltaic performance depends strongly on system design, climate, and operational conditions. Therefore, a professional estimate should show monthly irradiation, expected production, assumptions, and uncertainty. I would question any proposal that presents 1,500 kWh/m² as a fixed promise. Real sites are less tidy.
System Design: Calculating Output from 15–23% Efficient PV Modules
What Is Solar Installation and How Does It Work?
Solar installation begins with a measured system design, not simply placing panels on a roof. A designer estimates annual sunlight, roof area, orientation, shading, and local weather. PV efficiency shows how much sunlight becomes electricity. A 20% efficient module converts about 200 watts from one square metre under standard test conditions.
Real roofs are less generous.
Suppose a roof receives 1,000 watts per square metre at peak sunlight. A 20% module may produce 200 watts before temperature, wiring, dust, and inverter losses. A 10-square-metre array therefore has a theoretical output of 2 kilowatts. In practice, the usable output may fall by 10–20%, depending on site conditions and equipment quality. Modules rated from 15% to 23% require different roof areas for the same target capacity. Higher efficiency can help when space is limited, but it does not guarantee better yearly production.
The design should use hourly sunlight data rather than one annual average. Designers also check winter shadows, roof pitch, ventilation, and electrical limits. Hot modules usually produce less power than laboratory ratings suggest. That detail is easy to overlook. A neat spreadsheet can still be wrong if the roof survey is careless. I would leave room for uncertainty, especially when trees may grow or weather patterns change. Final installation includes mounting, safe wiring, protection devices, an inverter, and performance testing before connection.
What Is Solar Installation and How Does It Work?
Estimated Annual Energy Output by PV Module Efficiency
This chart models a 10 m² photovoltaic array in a location receiving 1,700 kWh/m² of annual solar irradiation.
Estimated output is calculated as: annual irradiation × array area × module efficiency.
Actual production varies with orientation, shading, temperature, inverter efficiency, and system losses.
The values represent estimated annual direct-current energy before typical balance-of-system and inverter losses.
Installation Process: Mounting, Wiring, Inverter Setup, and Grid Interconnection
Solar installation starts with a roof and site assessment, not a drill. Technicians check rafters, roof age, wind exposure, and snow loads. They then mark the array layout around vents and roof edges. Mounting hardware must transfer panel loads into structural members. Flashing protects each roof penetration from rain. Small alignment errors matter. The International Energy Agency’s Renewables 2024 report states that solar provided about three-quarters of global renewable capacity growth in 2023. That scale makes installation quality increasingly important.
After mounting, installers connect modules with properly sized DC cables. They verify polarity, insulation, connector condition, and torque values. Cables need secure clips and protected conduit. Otherwise, heat and movement can damage insulation. The inverter receives DC power and produces grid-compatible AC power. It also monitors voltage, frequency, and faults. NREL’s PVWatts documentation applies a default system-loss assumption of 14%, including wiring, soiling, mismatch, and other losses. I would not treat that figure as a promise. Real sites deserve measured assumptions.
Grid interconnection requires a single-line diagram, utility application, inspection, and approval. The inverter must follow applicable interconnection rules, including anti-islanding protection under IEEE 1547 requirements. A bidirectional meter records imported and exported electricity. The utility may reject energization until settings and labels are verified. A neat array can still fail here. Paperwork matters. Technicians should document test readings, torque checks, grounding continuity, and final inverter settings before the system operates.